6 tips on how to create a 3D character design
A beginner’s journey towards becoming a 3D character creator.
Character creation is something that attracts creative people naturally. Even as kids we found inspiration in cartoons or in video game 3D characters. Now, we continue to use characters on our social profiles, or as avatars, or as site and social content. Soon, 3D characters will be an inseparable part of our identities as we enter the metaverse communities.
If drawing is something you love, 3D drawing is just the next level of creative expression. The movement towards 3D design is growing and even 2D drawing tools like Procreate, amongst many, can support 3D models importing. Making your own, unique 3D character seems like a great way to start.
Getting started
The decision to work in Vectary was easy because it was made with simple UI everyone can understand. It is in-browser and no-code.
If your goal is to design a Hollywood production photorealistic humanoid, chances are that Vectary wouldn’t be your first choice. However, if you prefer more of a creative playground and real-time rendering, you can start creating with Vectary in no time. The toughest decision for me was what type of 3D character I should create.
I first attempted to play around with Vectary 6 years ago as a total beginner. I never assumed (but secretly hoped) that 3D design would be something I could do. Try, yes. But actually, create? It seemed like an unreachable skill. I also had a preconceived notion that my hardware would not be able to handle it, and that it would require a lot of sweat and tears to learn. I was wrong.
During my first few attempts, not knowing anything about character creation except that I wanted to create a 3D model of Totoro, my favorite Ghibli studio character.
I soon realized that 3D design space is totally different from 2D. It requires the same imagination but a different approach. The learning process started. Some things I had to discover through play, but I also received very helpful guidance from my Vectary colleagues.
Here are some learnings I picked up during my character design journey.
1. Everything starts with a shape
The first thing that needs to happen is a little mental switch on how you perceive an object. If we take Totoro as an example, we can see that the body starts with a sphere. That shape can then be transformed, elongated and shaped. His eyes are tiny spheres too, his hands are just bent blocks. It all starts with basic shapes that are modified and assembled together.
Tip: Start with the basic shapes found in the Primitives list, then adjust the size and position with gizmo:
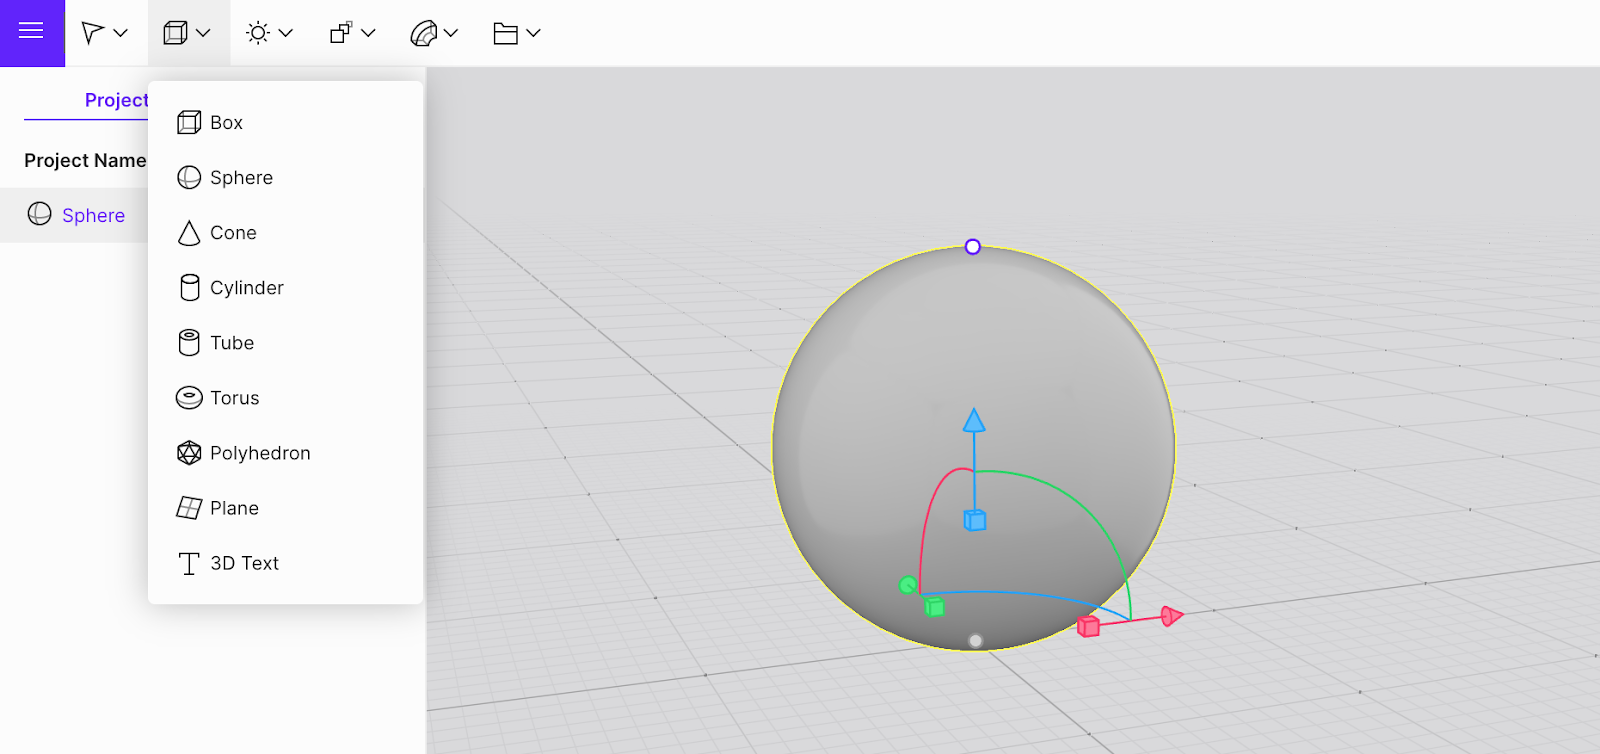
To modify the shape on one axis, just hold Shift and drag the cube on the gizmo. That was the base for Totoro’s body:
My first character shape was created. It needed a lot more detailing, but it was a good beginning. Beginnings are never perfect, so don’t be too harsh on yourself; you are just starting.
2. Designing in 3D is easier than you thought
We live in a 3D space. Moving, interacting and viewing comes naturally. With that space, comes a sense of freedom. Suppose you want to project the same sense of freedom and reality in how you interact with objects in a virtual 3D scene. There are no obstacles like calculating the right perspective of the object or working in layers as you would on paper.
With 3D design, you can interact with the object, rotate it, zoom in or out, move (pan), the same way you would handle objects in real life. All you need is to learn about the basic control points.
Tip: Use the scroll on the mouse to zoom in on the object. Left-click on the scene to rotate it. Right-click to pan. With the Tab button, you can change the viewing perspective:
3. Draft your ideas to create a blueprint
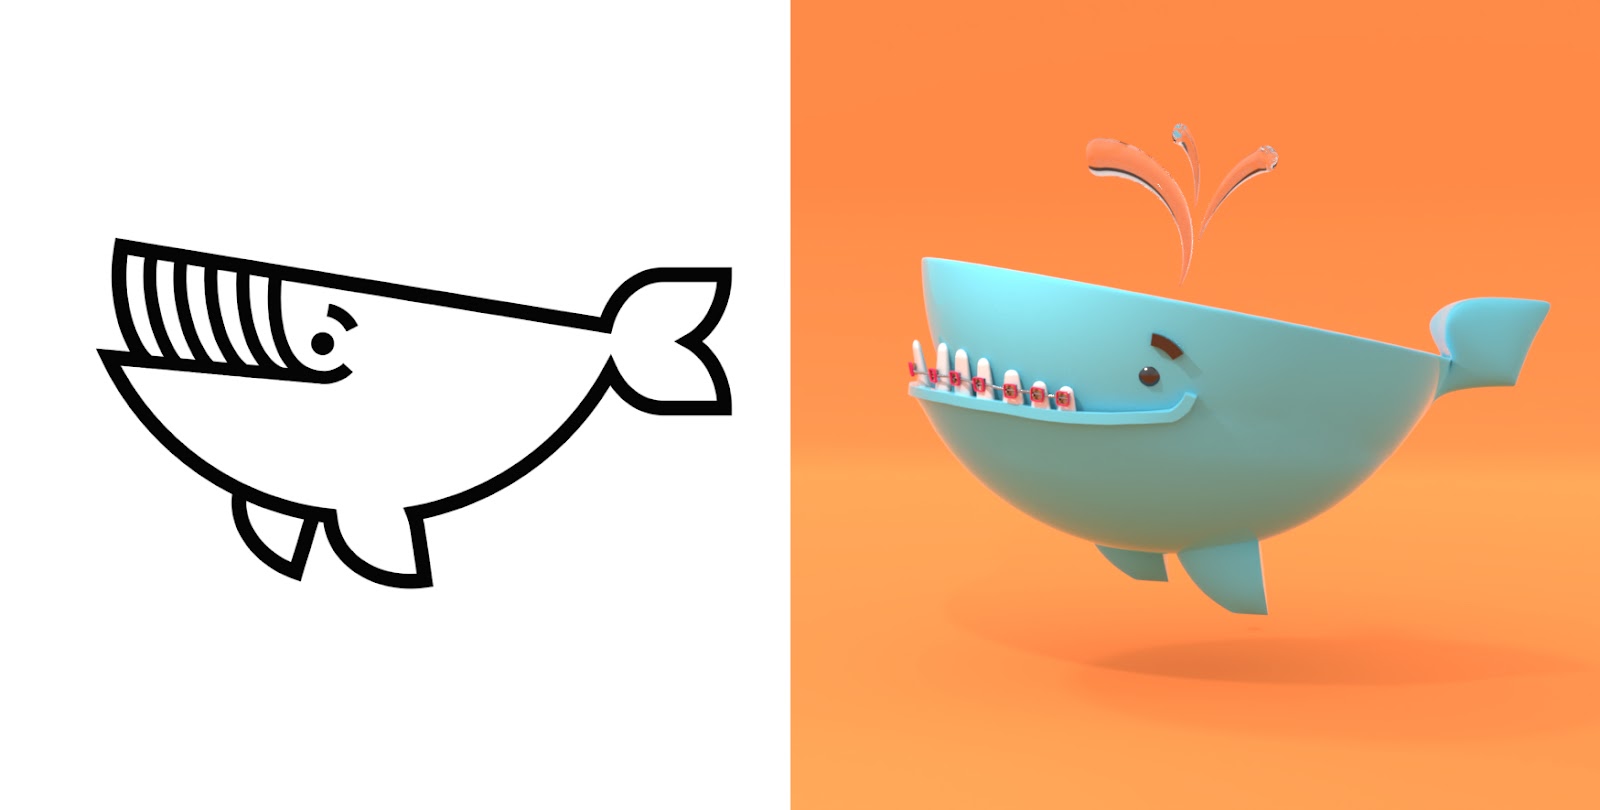
Vectary is a great tool for brainstorming, playing and to develop ideas while you create. However, if you already have something specific in mind, you can easily import a 2D graphic or a photo of a sketch and use it as a blueprint or a guide in the background.
Tip: To import into Vectary, just drag and drop the image into the scene.
4. Details make all the difference
What separates an average design from a great one, are the details. Most beginners might not be able to spot all of them at first, but pros can certainly see the difference. Here are some tips on how to deal with some essential detailing that can elevate your design to the next level:
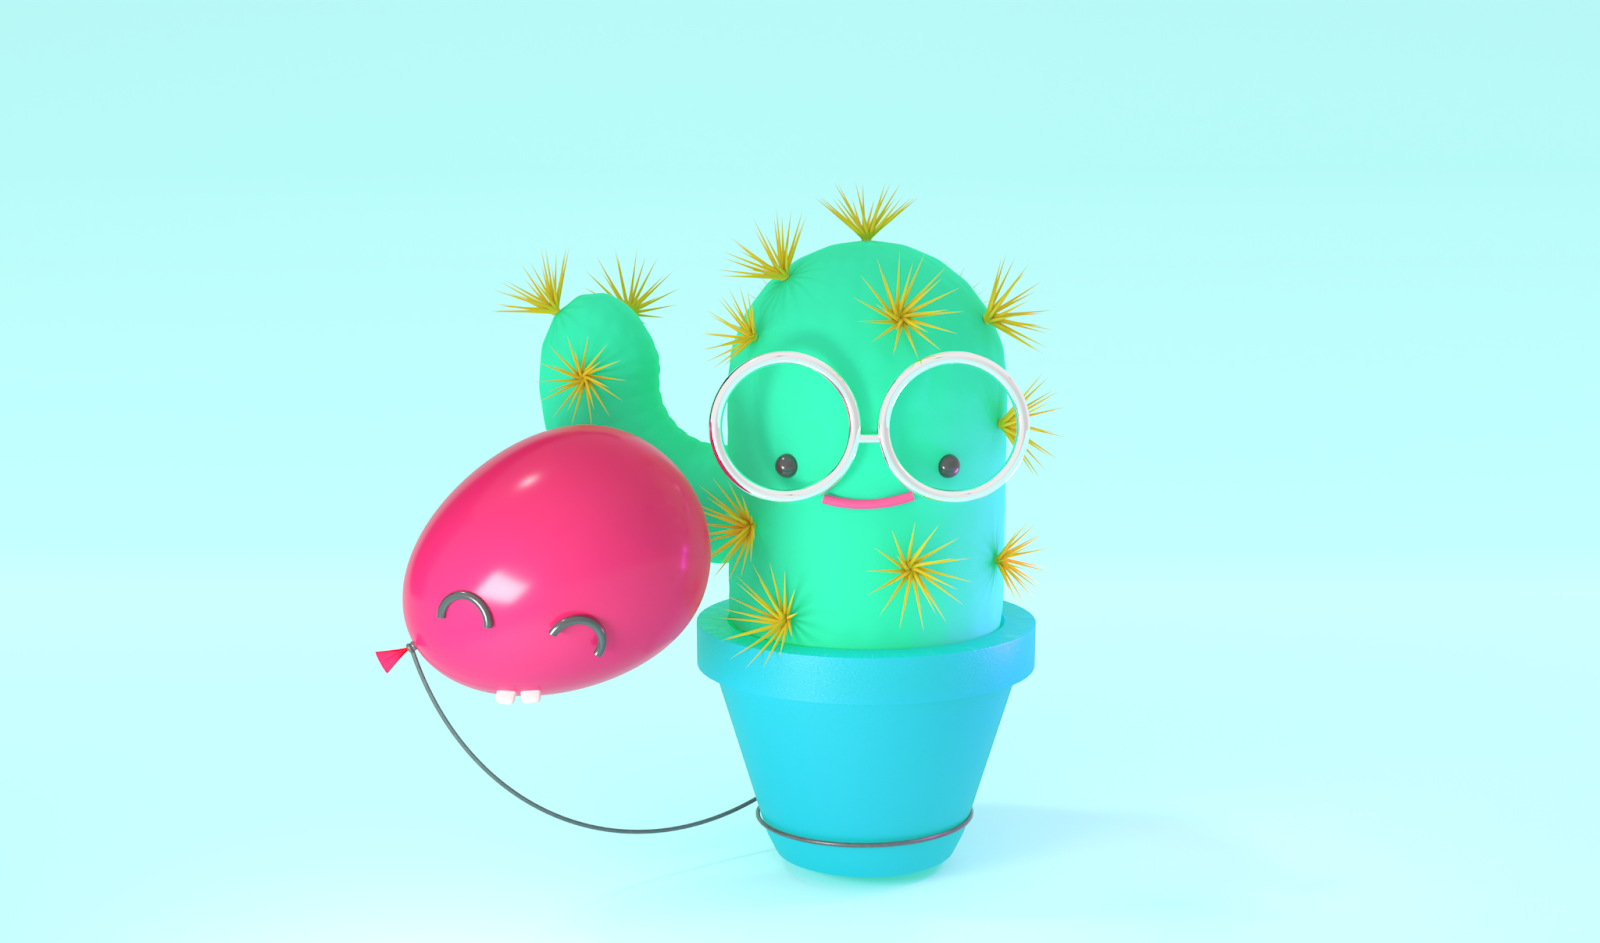
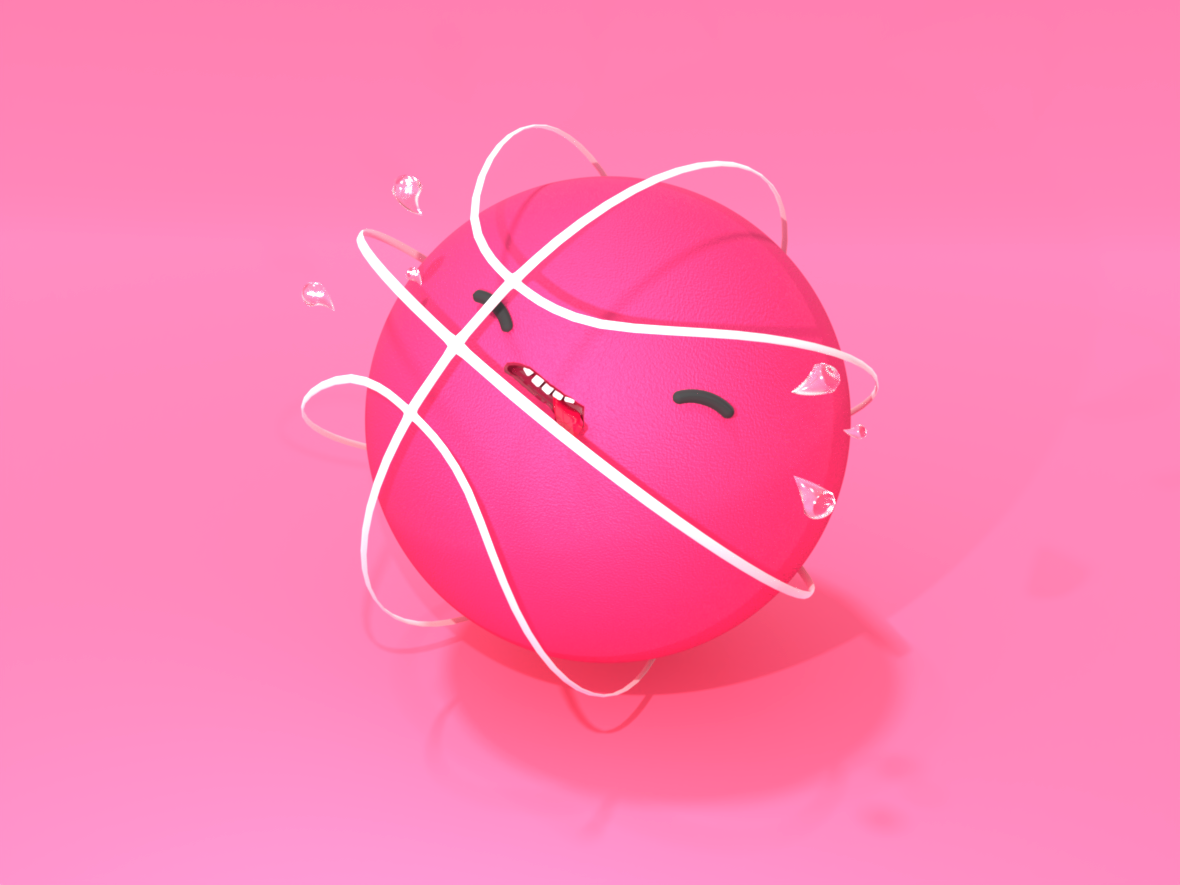
- Use photorealistic materials like metal, glass, wood or shiny plastic. They add an instant sense of realism and dimension to your 3D character. It can be just the metal frame of the glasses, refraction on the sweat drop or tear made with a glass material.
- Add subsurface scattering to the skin to replicate how the light behaves in reality. Skin absorbs light, and does not completely block it. By adding this setting in the Material properties, your character's skin will look more realistic, even when it's just a green cucumber with eyes.
Tip: The need for details also applies to the quality of a 3d model. If you don't feel skilled enough to create a detailed 3D model, use free 3D assets to finish your character. There are many available assets you can easily import.
5. Don’t be afraid to edit 3D geometry
During your design process, you will find that some shapes require a certain amount of complex editing. For example, to create a character's mouth, you would edit the basic shape to add an opening. This can be done in the Edit mode by right-clicking the object. Now you will see a mesh of the 3D shape consisting of faces, lines, and points. Each of them can be modified to your needs.
Tip: To create a mouth, select ‘faces’ and use the Extrude tool to push inside the object. The result might look a little rough at first. Smooth the shape by adding a Subdivide when you exit the Edit mode:
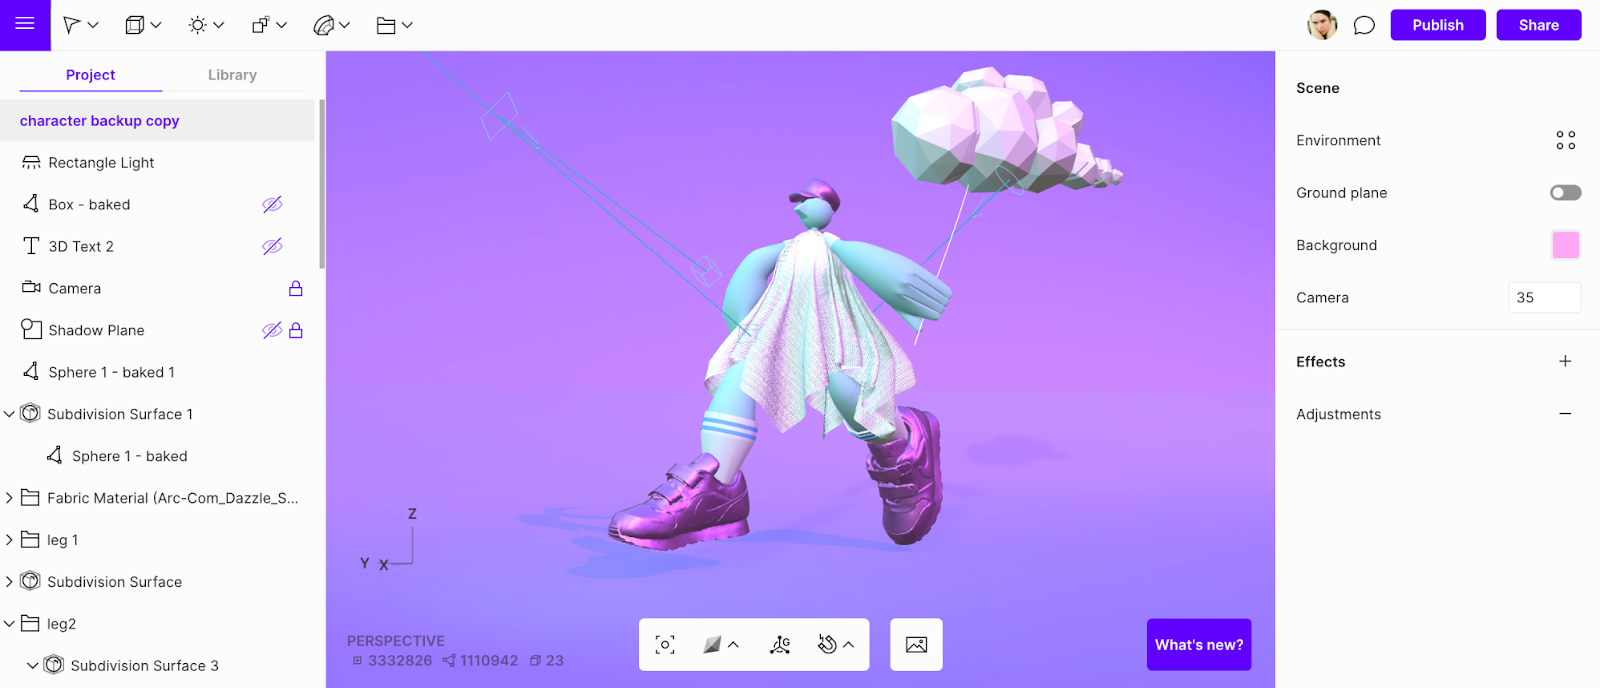
6. Play with lights, shadows and backgrounds
For me, adding lights and shadows is the most fun part of the creative process. It brings the whole idea together, and the character begins to look real. Getting those final results is a buzz. Next thing you know, you are hooked onto 3D and already thinking about your next design.
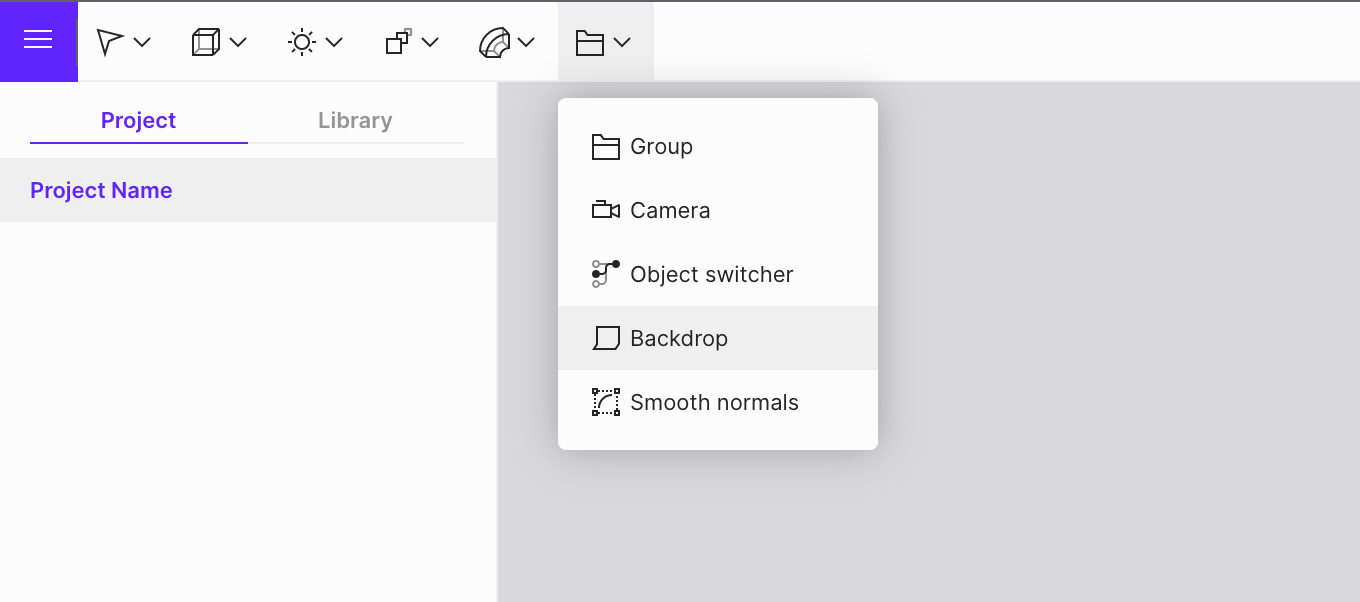
Tip: To make your object cast a shadow, make sure to apply a Shadow plane or a Backdrop:
Tip: In Vectary, there are more ways to light a scene. One option is to use Environments from the library and adjust the rotation as needed:
Tip: The most interesting are the individual light objects. You can drag and drop them from the Light objects menu and place them anywhere on the scene. I personally prefer having one Directional light simulating daylight and another sphere or rectangular light with a color tint. It creates a nice gradient on your 3D character's surface:
I hope these beginner’s tips have helped shed some light and inspiration. Good luck with your 3D character creation progress! Remember that sharing is caring, so tag #vectary on your social profile or add it to our Forum.
Author: Mirka Biel, Digital Marketing at Vectary