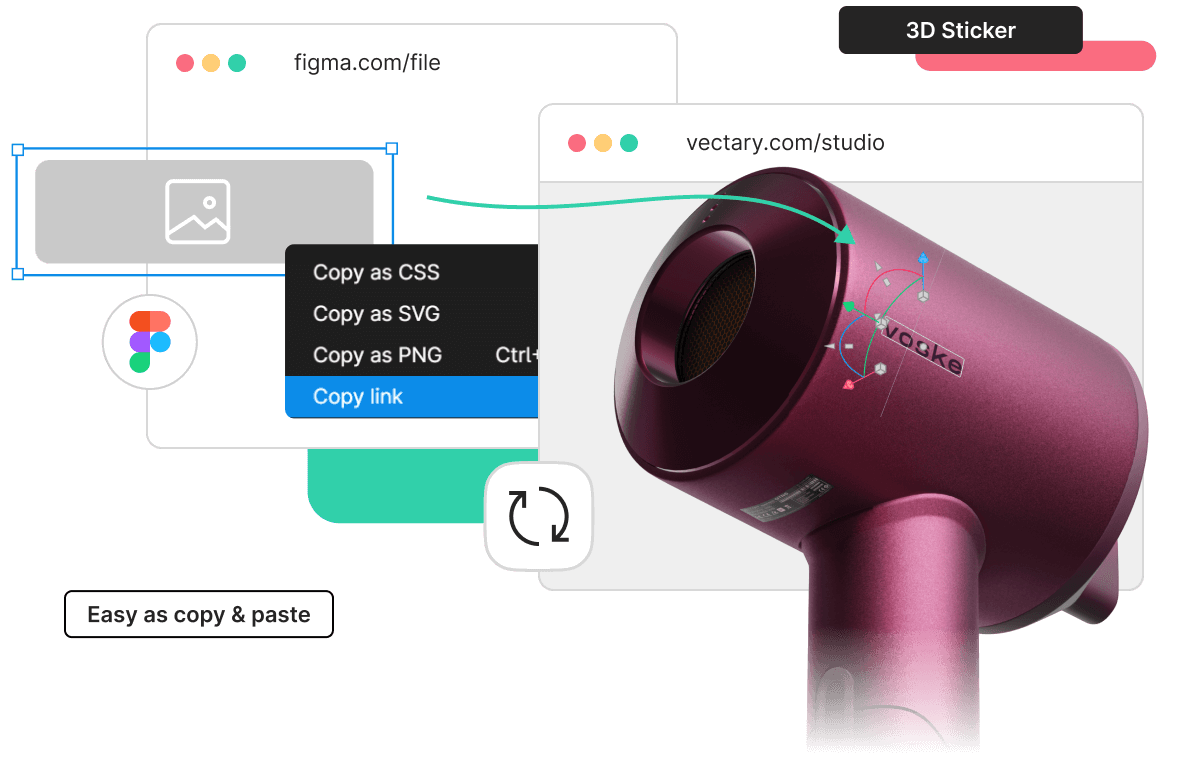
Case study: Connecting ideas, teams and workflows to launch a new feature

When it comes to integrating Vectary into a 3D workflow, you won't find an easier or more efficient method. We wanted to demonstrate the benefits by using one of our own projects as a case study. Here's what we did to get the transformation feature up and running.

The Challenge

What

Launch and explain the new ‘transformations’ feature using a single design source for multiple marketing channels.

Who

Multiple team members who will have to collaborate at various stages of the project.

When

Production timeline: 1 week

The Solution:

1. Concept brief

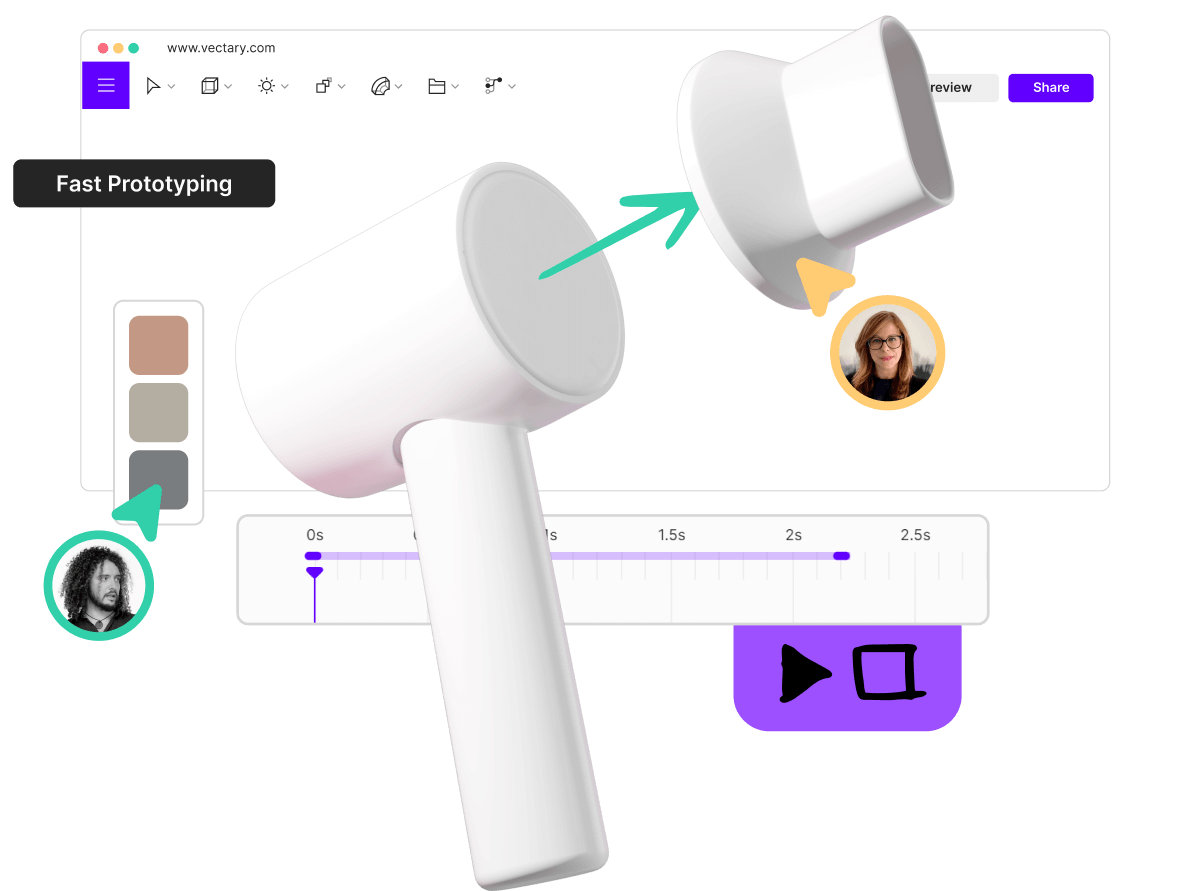
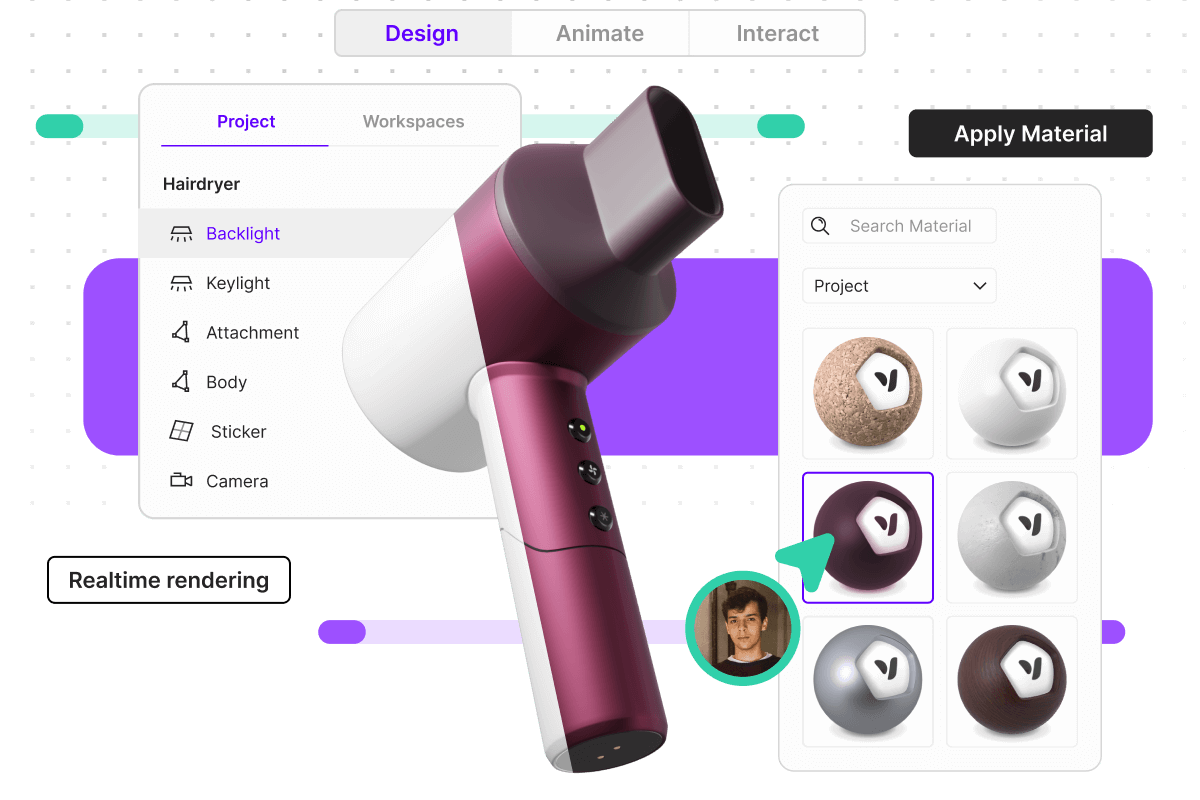
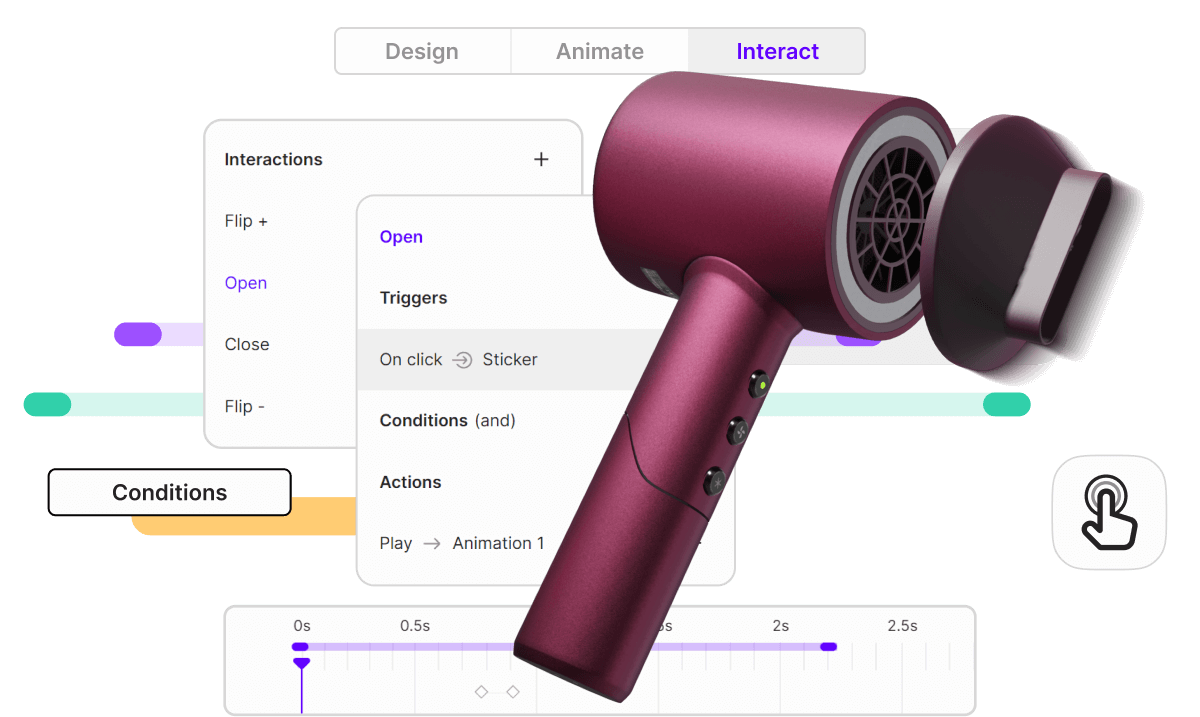
Every project starts with a product manager responsible for transferring the knowledge to the design team and getting everyone on the same page. He used basic 3D shapes to explain how the new feature works, or in this case how to create transformations. By doing this directly in the Studio, he could easily show how the feature works and how different elements will interact with each other. Following the creation of the initial concept, the 3D designer and industrial designer worked on the idea using various tools to create the right object and storyboard that can effectively explain the transformation process.

2. 3D model and scene creation

The designer started modeling the project based on the ideas generated during the brainstorming phase. Everything was created in Vectary Studio: objects, lighting, materials, shadows, even optimization and baking. Some 3D elements were modeled and some were imported from other software with a simple drag and drop.

3. Project sharing for feedback

After finishing the 3D modeling, the designer sent the project link to the design team for feedback. They could access the project by clicking on the link, which opened the project's 3D viewer. Feedback was provided in design, via 3D Comments (Business feature), and occasionally via chat.

4. Adding animations and interactions

A second designer, responsible for adding animations and interactions usually starts by duplicating the project but keeping it in the same workspace. Following the project brief, their task was to add transformations and other interactive elements to bring the storyboard to life.

5. Importing 2D graphical elements

The graphic designer prepared the logo, a Figma frame for the text content, and other 2D elements that were used for the floating UIs. They were directly imported into the project. The logo was saved as an element via the workspace library. This way, it can be accessed and used by other team members. To make the project more visually appealing, the designer used a simple drag and drop method to import a Lottie file as animated material for the hotspots. The Lottie file adds an interesting and realistic element to the project, making it more dynamic

6. Final approvals and project sharing

When the project was finished, the designer sent the link to the product team and the art director for feedback. Any subsequent changes were synced, and the viewer was automatically updated. The digital marketing manager used the project embed code to add the project to the blog, as well to Notion, where all the projects are tracked. The link to the completed project was also sent to the sales department to be used as a demo for enterprise clients subscribed to Business workspaces.

The Results:

A great concept deserves to be presented properly in a way that will get everyone on board.
The best way to do it is to make sure the design is easily accessible and packed with the right information.

Visually appealing presentation

It effectively showcases the benefits and the power of interactive concept presentation using interactive features like ‘transformations’.

100% understanding of the idea

The selected product design also highlights the unique capabilities of interactive 3D design to explain concepts that would not be able to be fully understood if presented as static 2D renders, or even non-animated 3D designs. It completely conveys the functionality of the product without having to resort to a physical product sample.

Effective cross-department collaboration

The project was completed within the promised timeline, with the contribution of +5 team members.

Build 3D design systems

Multiple content was created from one scene:

  • Interactive 3D scene for embedding to the blog/documentation/YouTube/newsletters
  • Demo project for the Business accounts to explore and learn how to do
  • Animated tutorial explaining the transitions and interactions
  • Promo video showcasing the value of the ‘transitions’ feature
  • Social media content (various sizes for various channels)

Improve your team’s 3D workflow

Contact our team and book a demo